Sprouted Buckwheat Granola!

raw granola

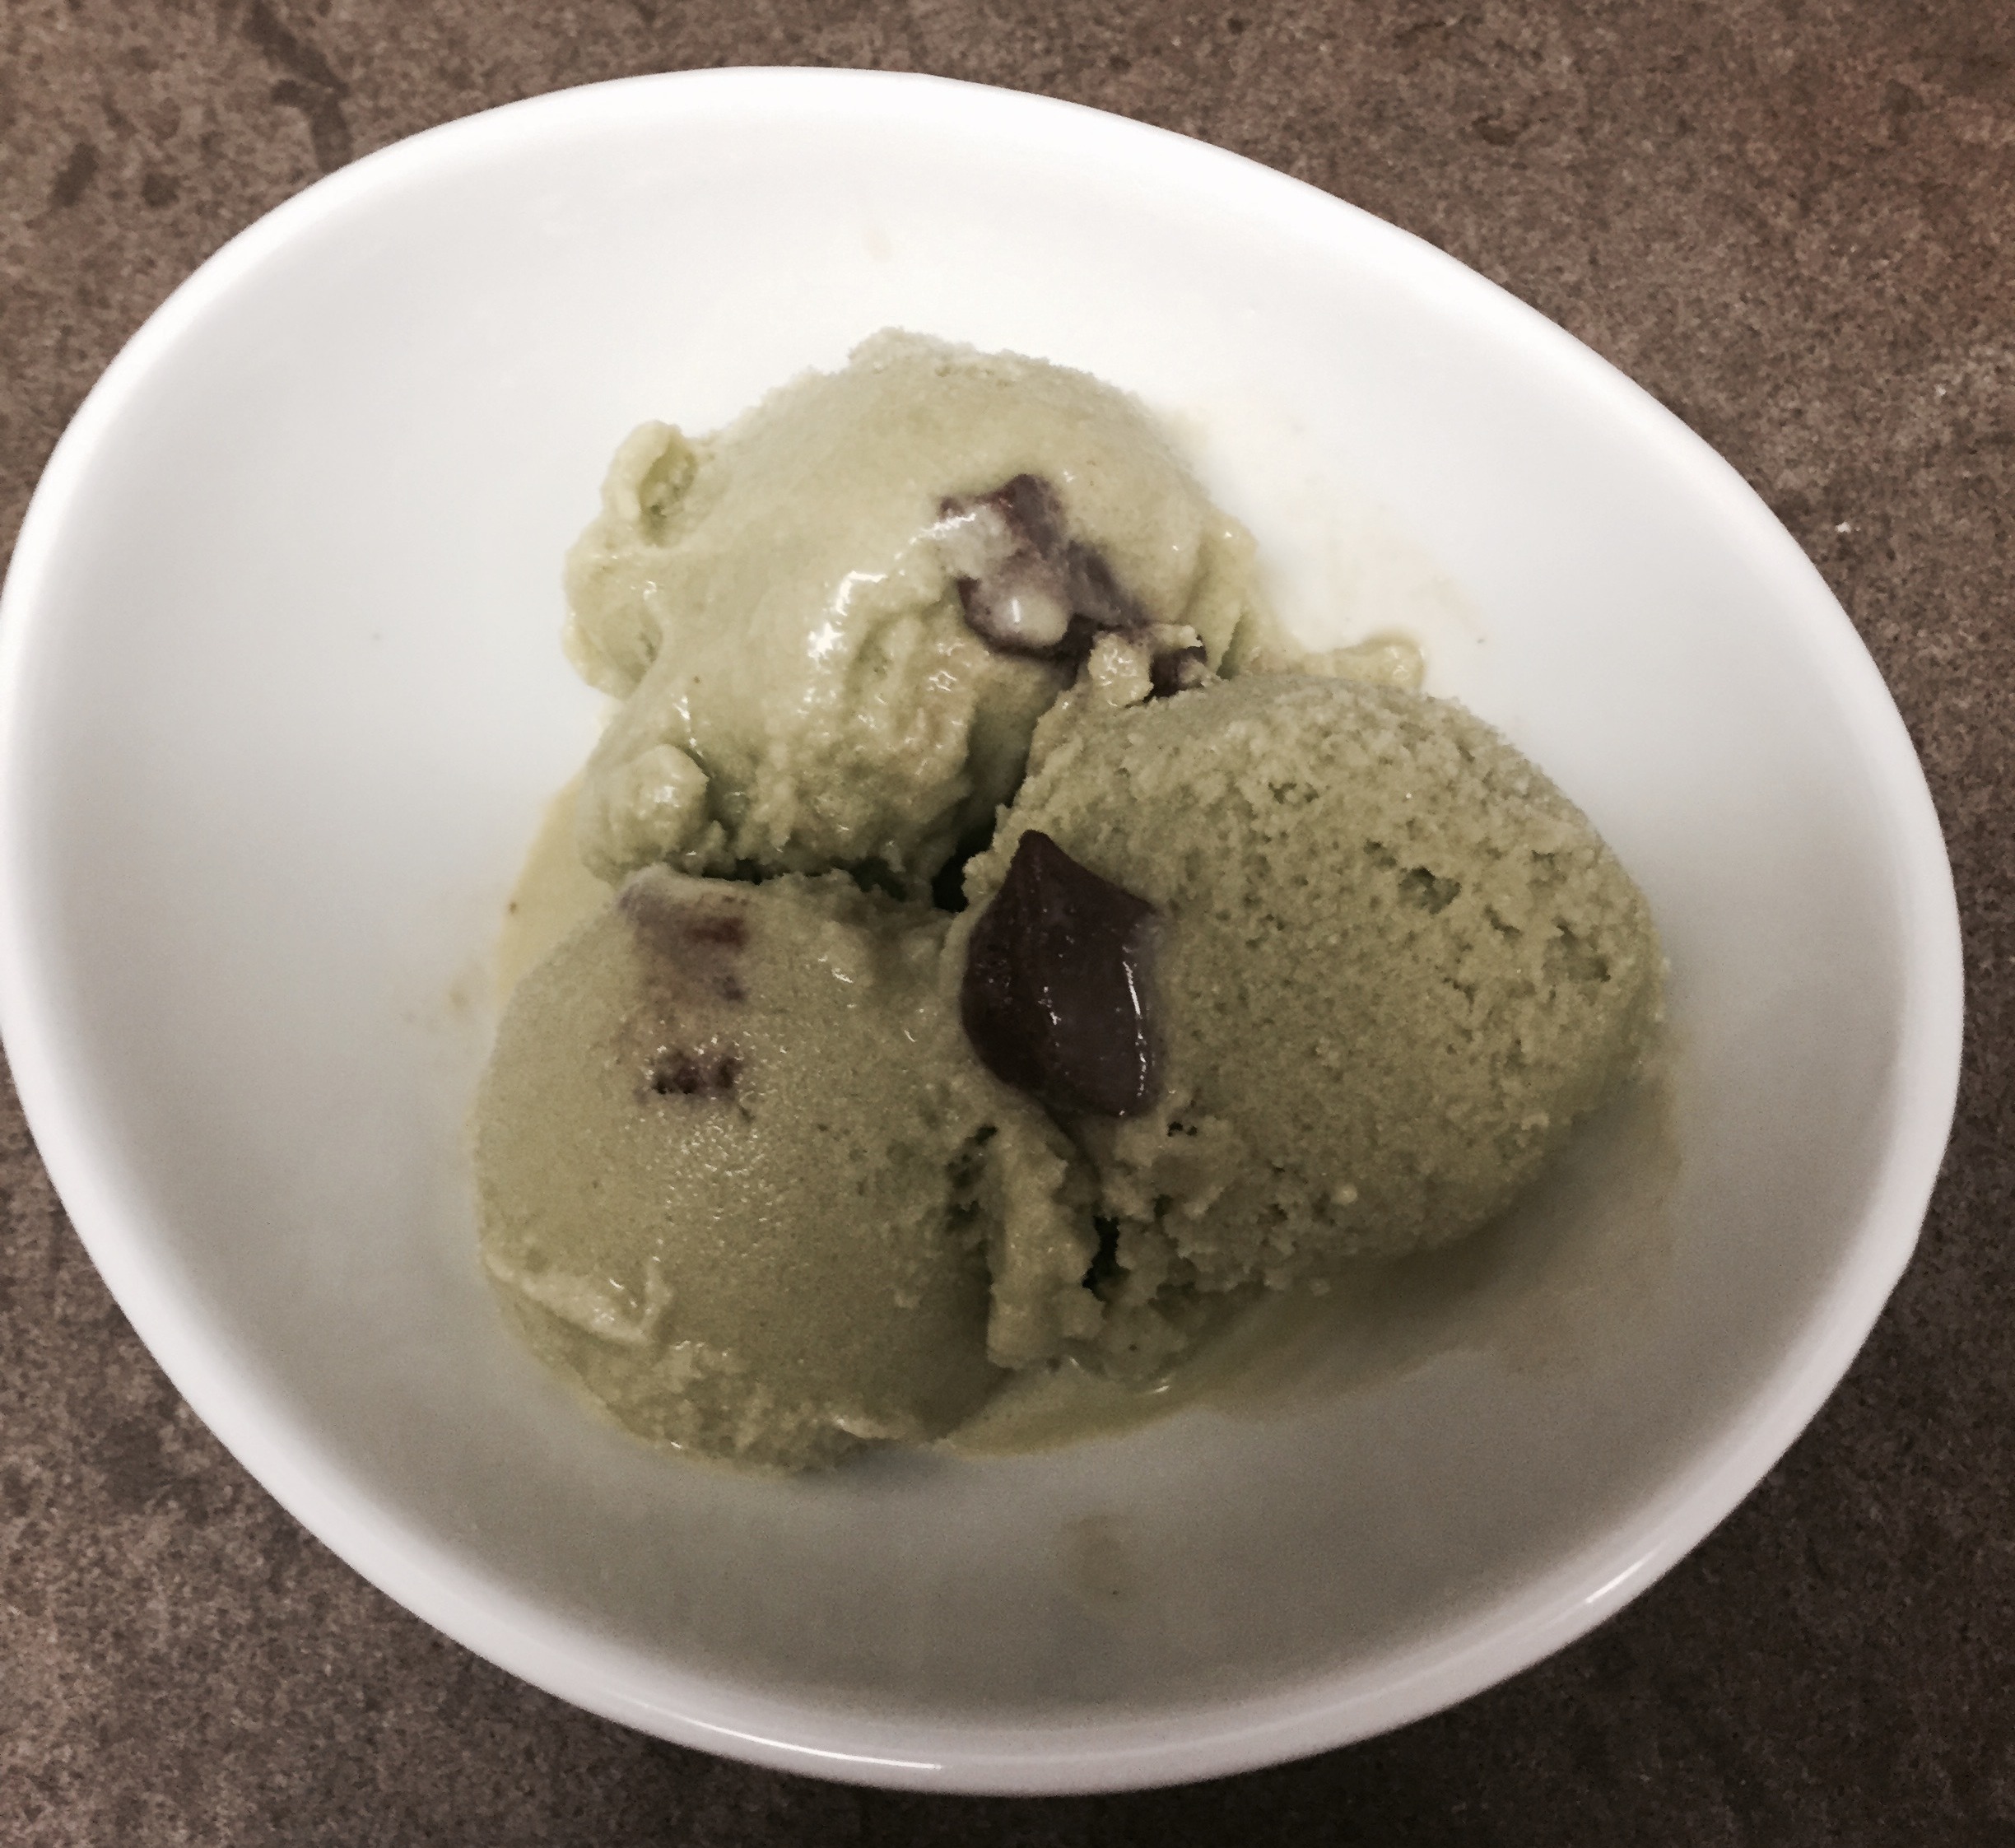
Buckwheat is not related to wheat at all, which makes it gluten-free. It is actually a fruit seed and is believed to be easier to digest than grains. The purpose in soaking and sprouting the buckwheat is to neutralize enzyme inhibitors that prevent absorption of nutrients. If you don’t want to sprout and dehydrate buckwheat, you can always buy it already sprouted or even substitute in sprouted quinoa or millet. I really love this recipe because it uses date paste, a whole food, rather than a highly processed sweetener like white sugar or agave nectar. You can feel good about sharing this granola with loved ones.

Sprouted Buckwheat Granola

1 ½ cups sprouted, dehydrated buckwheat*
1 pear, diced and roughly chopped
¼ cup pumpkin seeds
¼ cup sunflower seeds
½ cup raisins or other dried fruit, soaked for 30 minutes and roughly chopped
¾ cup date paste**
2 tablespoons lemon juice
1 teaspoon lemon zest
1 teaspoon vanilla extract
½ teaspoon cinnamon
pinch ground clove
pinch salt

1. Mix all ingredients by hand in a large bowl, until well combined.
2. Spread onto a dehydrator sheet in ½ inch thick layer, allowing some space between granola pieces.
3. Dehydrate at 115 degrees F for 18-24 hours or until dry.
4. Enjoy!
*Sprouting Buckwheat:
1. Rinse buckwheat several times until water becomes clear
2. Soak in slightly warm water for 20 minutes, to begin sprouting process
3. Transfer to mesh strainer and rinse well again
4. Place strainer over a bowl and cover with a kitchen towel
5. Leave on counter to sprout (1-2 days), rinsing every 8-12 hours.
6. When the buckwheat is sprouted, it should have a tail no longer than the buckwheat groat itself.
7. Rince and spread out the sprouted buckwheat on a mesh dehydrator screen, being careful not to overcrowd the groats.
8. Dehydrate at 115 degrees F until completely dry.

**Date Paste: Process 5-8 soft dates with ¼ – ½ cups of water until a paste is formed.

Sesame-Ginger Kelp Noodles!

kelp noodles_blog

Kelp noodles are made out of the seaweed kelp and are fat-free, gluten-free, and very low in carbs, which makes them perfect for people with different dietary requirements.They are rich in a number of nutrients, mainly calcium, iron, and vitamin K. However, they are naturally high in sodium, so be mindful if you need to watch your sodium intake. They are a healthy and delicious alternative to conventional pasta and noodles and actually remind me of vermicelli or glass noodles, common in asian cooking. The sesame-ginger sauce coats the noodles nicely and the addition of a rainbow of thinly sliced veggies makes it really appealing and yummy. They also hold up well in soup and do not require cooking. Hope you enjoy them as much as I do!

Sesame-Ginger Kelp Noodles

12 ounces kelp noodles
juice of half a lime
1/3 cup tahini
1 tablespoon rice vinegar
1 tablespoon ume plum vinegar
1 tablespoon finely grated fresh ginger or 1 teaspoon of ground ginger
1 tablespoon white miso
1 teaspoon tamari
1 teaspoon sesame oil
pinch red pepper flakes
¼ cup water
¼ cup shredded red cabbage
¼ cup thinly sliced green beans
1 carrot, julienned
2 tablespoons chopped cilantro
2 tablespoons thinly sliced scallion
2 tablespoons sesame seeds (preferably black)
1. Soak kelp noodles in a large bowl of warm water with lime juice for 30 minutes
2. Rinse noodles thoroughly, then drain and transfer to a dry bowl
3. In a small bowl, whisk together the tahini, rice vinegar, ume plum vinegar, ginger, miso, tamari, sesame oil, and red pepper flakes. Once blended, whisk in water until you reach your desired consistency.
4. Toss the kelp noodles in the sesame-ginger sauce (depending on how saucy you like your noodles, you may have some sauce left over). Toss in the cabbage, green beans, and carrots. Garnish with cilantro, scallion, and sesame seeds. Serve immediately.

Heavenly Chocolate Ice Cream!

chocolate ice cream

When I made this ice cream for the first time, I couldn’t wait for it to freeze because it already tasted incredible out of the Vitamix. Vegans and non-vegans will absolutely fall in love with this rich, chocolatey ice cream. The cashews and coconut meat give it an ultra creamy texture that you won’t want to stop eating. You can find fresh young thai coconuts in Whole Foods or if you don’t want to crack open your own coconut, frozen coconut meat (popular brand: Exotic Superfoods) can be found in health food stores. However, the bonus of opening a fresh coconut is the refreshing coconut water!

Raw coconut is full of medium-chain triglycerides, a type of dietary fat that has been shown to curb hunger more effectively than other forms of fat and could improve cholesterol levels. It is also full of minerals and could help boost immunity. This would a be great to treat to consider for Labor Day weekend, whether or not you want to share 🙂 (An ice cream maker is not absolutely necessary, but it will deliver creamier results. The churning prevents tiny ice crystals from forming. I made this without one and it’s still delicious!)

1 cup cashews, soaked overnight
½ cup young coconut meat
½ cup honey (non-vegan) or agave (vegan)
1 ¼ cups coconut water
¼ cup coconut oil
1 tablespoon vanilla extract
4 tablespoons cacao powder
¼ teaspoon sea salt

1. Blend all ingredients in blender until very smooth.
2. Pour into ice cream machine and freeze according to manufacturer instructions.

Zucchini-Avocado Tartare!

tartare_blog

This month is super busy for me since I’m doing an online culinary program that is more intense than expected! But I will try to blog when I have free time 🙂 This is a recipe that I just learned and really love for its simplicity. You can easily impress guests with it! Because it’s raw, you’ll be absorbing more of the nutritional goodness. Lemon juice and olive oil help to make the zucchini nice and tender. Also, this is done best with a ripe avocado that is not too soft. Enjoy!

1 small zucchini, small dice
½ tablespoon lemon juice
1 teaspoon olive oil
1/8 teaspoon agave
½ tablespoon chives, minced
½ teaspoon salt
½ avocado, small dice

1. Toss all ingredients until well combined, saving avocado for last so that it doesn’t get mushy.

2. Press into a ring mold (using a spoon) to serve. Garnish with
chive points, fresh ground pepper and a drizzle of olive oil.

Matcha Spinach Smoothie!

matcha spinach smoothie

This morning, I was in a rush to meet friends to go to the beach, so I didn’t have time to cook breakfast. Improvising with what I had in the fridge, I came up with this smoothie which I was really happy to take on the train 🙂 Matcha green tea is rich in catechin polyphenols, which are compounds with high antioxidant activity. The green tea powder has a strong flavor that is mellowed out with the addition of banana, coconut water, and almonds. It also seems like a lot of spinach but you honestly can’t taste it. This yummy smoothie packs in 2 servings of fruit, 2 servings of veggies, and also 10 grams of protein!

Yield: About 3 cups

1 ½ cups coconut water
1 teaspoon matcha green tea powder
1 banana
1/3 cup raw almonds
2 cups fresh baby spinach
ice cubes (optional)

1. Combine all ingredients in powerful blender and blend until smooth. Enjoy!

Grasshopper “Ice Cream”!

mint chip ice cream

Last week, I spotted this recipe on the Well and Good site and was really intrigued. No-churn, healthy ice cream? I’m in! This is really clever in that it uses fresh baby spinach to make the ice cream a minty green without tasting like spinach since such a small amount is incorporated. It’s sweetened naturally with banana and some maple syrup. The coconut milk and chocolate chips add some richness, yet it still tastes light. Although you can’t sell this to friends and family as actual ice cream, I believe health nuts, like myself, will enjoy it! Nonetheless, it’s a refreshing, summer treat. Hope you’ll give it a try!

1 medium banana, sliced and frozen
1 cup baby spinach leaves
2 tablespoons maple syrup
1 cup coconut milk, chilled in fridge
2 cups ice
1/2 tablespoon peppermint extract
2 tablespoons dark chocolate chips

1. Place the first five ingredients in a high-speed blender until thick and smooth.
2. Add in the peppermint extract and mix until just combined.
3. Add the dark chocolate chips and fold through.
4. Pour into a container and leave to set in freezer. This needs to sit out of the freezer for 25-30 minutes before serving.

Cumin-Spiced Beet Chips!

beet chips

This was my first endeavor in making beet chips and I ate the whole batch, so if you plan on sharing, maybe make a double batch! The sweetness of the beets is enhanced by the coconut oil and balanced out with the savoriness of the cumin.Beets are high in folate, manganese, and also the chemical betaine, which is important for cell reproduction and liver function. These would be a great, healthy snack, especially if you’re traveling. I would choose a cone of these chips over fries at a restaurant any day. These are even more nutritious because the skin is left intact, preserving more of the nutrients. Forget those veggie straws and make your own snacks 🙂

INGREDIENTS
3 medium beets
2 teaspoons coconut oil
1 teaspoon cumin
1/2 teaspoon sea salt

INSTRUCTIONS
1. Preheat oven to 350°F.
2. Wash and dry beets (no need to peel). Using a mandoline, thinly slice the beets, about 1/16”.
3. In a large bowl, toss beet slices, oil, cumin and sea salt.
4. Spread beet slices onto baking sheets in a single layer.
5. Bake beet chips for 35-45 minutes until crunchy, flipping slices once halfway through baking time.
6. Allow chips to cool thoroughly and blot any excess oil with paper towels. Store in an airtight container.

Broccoli Carpaccio!

broccoli salad

This recipe does not require cooking and comes together very quickly, making it ideal for summer. I personally love broccoli stems and for this recipe, be sure to trim and peel them before slicing thin. Broccoli is packed with phytochemicals that boost the immune system and antioxidants that fight cancer. While the toasted almonds are optional, they really add a nice earthy flavor and crunch on top. Enjoy!

1 tablespoon white wine vinegar
1 lemon, zested
1 tablespoon freshly-squeezed lemon juice
2 teaspoons dijon mustard
½ teaspoon sea salt
pinch freshly ground black pepper
¼ cup olive oil
1 pound broccoli, rinsed, trimmed, and sliced thinly (using mandolin or food processor)
sliced almonds, toasted (optional)

1. Whisk together the vinegar, zest, lemon juice, mustard, salt, and pepper in a large mixing bowl. While whisking constantly, gradually add the olive oil until uniform.
2. Add broccoli and toss to coat. Cover and place in the refrigerator at least an hour before serving.
3. Before serving, toss again. Sprinkle with toasted almonds.

Haricot Vert Summer Salad!

green bean salad

French green beans are sweeter, crispier, and more elegant than ordinary green beans. They are also full of fiber, protein, iron, calcium, and various other vitamins and minerals. Slicing them on a sharp bias is really beautiful but also allows the beans to really absorb the delicious dressing. This is one of my favorite recipes that I had made many times years ago and had forgotten about, until I had an abundance of haricot vert. Enjoy!

1 pound french green beans
5-6 mini bell peppers, thinly sliced
1 medium red onion, thinly sliced
¼ cup avocado oil or EVOO
3 tablespoons red wine vinegar
1 teaspoon dried oregano
2 teaspoons ground cumin
½ teaspoon sea salt
¼ teaspoon freshly ground pepper

1. Bring a large pot of water to a boil and add green beans. Cook for 1 minute. Remove and place in large bowl of ice water until cool. Drain well. Slice each green bean on the bias into 2-3 pieces, based on size.
2. In a large bowl, whisk together oil, vinegar, and spices.
3. Add green beans, bell peppers, and onion to dressing and toss until evenly distributed. Let stand at room temperature at least 15 minutes and toss again before serving.

Overnight Oats with Hemp Milk!

oatmeal

One of my running friends told me about overnight oats and I hadn’t tried them until now. After doing a long-ish run this morning, I came home knowing that I had this nourishing breakfast waiting for me 🙂 Hemp seeds are a great source of omega-3 fatty acids as well as protein. I really like hemp milk because it is a whole food, unlike almond milk and soy milk, which both need to be strained (losing some of the precious nutrients). Making it at home is so easy and cheaper than buying it at the store, not to mention you’ll be avoiding the preservatives in the manufactured cartons. Enjoy!

Hemp Milk:
¼ cup hemp seeds
1 cup water
1 teaspoon maple syrup or honey

Oatmeal:
1/3 cup rolled oats
1 tablespoon chia seeds
hemp milk

1. In a powerful blender, blend all ingredients for the milk.
2. Place rolled oats and chia seeds in mason jar or small container.
3. Add hemp milk and mix well. Place in fridge overnight.

Cilantro Quinoa with Sumac Vinaigrette!

cilantro quinoa

Sumac is a reddish-purple spice that is commonly used in Middle Eastern cooking to add a tangy lemony flavor. The sumac bush produces deep red berries, which are dried and ground into this coarse powder. It was used to treat different ailments in medieval medicine. A tiny sprinkle adds tremendous flavor and pairs really well with cilantro in this quinoa salad. Sumac would also be great in hummus or sprinkled over grilled veggies before serving. Hope you’ll try this unique spice!

1 cup quinoa, cooked and cooled to room temperature
1 bunch cilantro, de-stemmed and chopped

Vinaigrette:
1 tablespoon apple cider vinegar
1/8 teaspoon sumac
1/8 teaspoon sea salt
few grinds fresh black pepper
2 tablespoons avocado oil or EVOO

1. In a large bowl, whisk together vinaigrette ingredients.
2. Add quinoa to vinaigrette and mix thoroughly, making sure to coat all of quinoa.
3. Add cilantro and mix again. Enjoy!

Balsamic Strawberry Salad!

balsamic strawberries

Rather than just eating an entire one pound carton of strawberries today, I chose to be a little more adventurous 🙂 A while back, one of my culinary friends suggested making a salad with balsamic vinegar and arugula. This recipe comes from Mark Bittman, who can always be trusted in the kitchen. The simplicity and freshness of the salad make it truly satisfying. Strawberries are a member of the rose family and the only fruit with its seeds on the outside. A single cup of strawberries provides more than 100% of the daily value of vitamic C as well as other powerful antioxidants. It’s important to buy organic strawberries, as conventional are grown with more pesticides than most other crops.

Makes 2 servings

1 cup strawberries, hulled and halved or quartered
1 teaspoon balsamic vinegar
freshly ground black pepper
2 cups mixed greens
sea salt
1 teaspoon extra virgin olive oil

1. Toss the strawberries with the vinegar and black pepper in a large salad bowl and let sit for 10 minutes
2. Add the greens, sprinkle with sea salt and toss again. Drizzle with olive oil and toss gently one last time.
3. Taste, adjust the seasoning, and serve. Enjoy!

Miso-Lime Dressing!

miso-lime carrots

The combination of miso, lime juice, and walnut oil makes for a very unique and delicious dressing. Walnut oil is best used in dressings, as it loses flavor and nutritional value when heated. It is a good source of omega-3 fatty acids, which aid in memory and overall brain function. Walnut oil is also high in ellagic acid and antioxidants which have been shown to kill cancer cells and fight free radicals. The dressing is perfect on roasted veggies, such as the roasted carrots here. However, it would be wonderful on grilled veggies, like zucchini, in the summer or mixed in with your favorite grains. This would make for a great side dish at a barbecue or picnic, and intrigue your guests! Enjoy!

2 tablespoons lime juice (about 1 lime)
1 ½ teaspoons white miso paste
2 tablespoons walnut oil

Whisk together lime juice and miso paste until smooth. While whisking, drizzle in walnut oil until mixed thoroughly.

Smashed Cucumber Salad!

smashed cucumbers

This is one of my favorite dishes to order at a Chinese restaurant, but I never realized how easy it is to replicate at home! The chinese name for the salad translates roughly into “banged cucumber,” as cucumbers are traditionally banged with the wide flat side of a cleaver. This step is essential to get the correct texture of the salad and can serve to reduce some stress 🙂 Be aware that some of the seeds and juice will fly out when smashing them. It is best made with persian cucumbers, but an english cucumber could be substituted. Cucumbers are a good source of Vitamin K as well as Potassium.This salad has the perfect balance of salty, sour, sweet, and spicy and is rather addictive. Consider it a healthy snack food. Enjoy!

Ingredients:
12 oz. Persian cucumbers (about 5-7)
½ tsp sea salt
2 cloves garlic, minced
1 tsp sesame oil
½ tsp granulated sugar
½ tsp red pepper flakes

Procedure:
1. Slice ends off cucumbers and quarter them lengthwise. Then smash with a chef’s knife or cleaver and cut pieces into thirds (about 1/2 inch wide and 2 inches long).

2. Add in all the remaining ingredients and mix until cucumbers are evenly coated in seasonings. Taste and adjust as needed. You can eat right away or let the cucumbers sit in the fridge to further develop the flavors.

Quinoa Tabouli!

tabouli

Quinoa is one of the few plant-based, complete protein foods, which means that it contains an adequate proportion of all nine essential amino acids. Some of the vitamins and minerals that are abundant in quinoa include vitamin E, B vitamins, zinc, potassium, phosphorus, magnesium, and iron. It’s a great source of protein, with a half-cup serving providing 4 grams of protein! This superfood is used instead of the traditional bulgur (cracked wheat), which makes it ideal for a gluten-free diet. Tabouli is one of my favorite dishes to make and is so refreshing with lots of parsley, mint, and lemon.

1 cup quinoa, rinsed
1⁄2 cup lemon juice (about 3 lemons)
1⁄4 cup extra virgin olive oil
1⁄2 teaspoon sea salt
2 plum tomatoes, seeded and cut into small dice
1 bunch parsley, chopped
1⁄2 bunch mint, chopped
4 scallions, thinly sliced
4 ribs celery, cut into small dice
Sea Salt and pepper, to taste

1. Cook quinoa according to package instructions.
2. In large bowl, whisk together lemon juice, olive oil, and salt. While quinoa is still warm, toss with dressing. Let sit until it reaches room temperature.
3. Add remaining ingredients and mix well. Enjoy!

Cauliflower Fried “Rice”

cauliflower fried rice

This is such a brilliant way to make a healthy fried “rice.” No wonder it’s gone viral on food sites! The recipe is pretty basic and can be customized with whatever veggies or leftovers you happen to have in the house. Cauliflower is a cancer-fighting crucifer and an excellent source of Vitamins C and K. This is a fried rice that you won’t feel guilty about having seconds of! If you’re watching your carb intake, this is a really satisfying dish without the heaviness of your typical takeout. Also, you can process the cauliflower into “rice” and freeze, so that it’s ready to go anytime. Enjoy!

Ingredients:
1 head cauliflower, rinsed and cut into small florets
1 tbsp sesame oil
1 small onion, diced small
1 cup frozen peas
2 carrots, peeled and diced
2 garlic cloves, minced
½ bunch scallions, thinly sliced, whites and greens separated
3 tbsp soy sauce, or more to taste (Tamari for Gluten Free)

Procedure:
1. Allow cauliflower to dry completely. In a food processor, place as many florets that fit in a single layer and process until size of rice. Do not over process; otherwise, it will end up mushy. Set aside and repeat with the remaining cauliflower.
3. Heat a large saute pan or wok over medium heat and add sesame oil.
4. Saute onions, scallion whites, peas, carrots, and garlic about 3 to 4 minutes, or until soft.
5. Raise the heat to medium-high. Add the cauliflower “rice” to the saute pan along with soy sauce. Mix, cover and cook approximately 5 minutes, stirring frequently, until the cauliflower is slightly crispy on the outside but tender on the inside.
6. Remove from heat and mix in scallion greens.

Sweet Tahini Sauce!

tahini sauce

This dressing is kind of a mediterranean meets asia recipe, adapted from one found in Yotam Ottolenghi’s Plenty More cookbook. All of the flavors work so well together. It’s best to use unfiltered apple cider vinegar, which is full of probiotics, the good bacteria in your gut that aid digestion and strengthen immunity. Tahini is not just for making hummus; break out your jar and make this yummy sauce! It’ll get your loved ones to eat their veggies 🙂 This would also be a great on a crudite platter. Those veggies will be gone before you know it! Enjoy!

2 tablespoons tahini
2 tablespoons water
1 tablespoon unfiltered apple cider vinegar
½ teaspoon soy sauce
1 teaspoon honey
1/4-1/2 teaspoon salt

Whisk all ingredients together and serve with your favorite veggies.

Blistered Shishito Peppers!

shishito peppers

In the office this past week, I overheard some guys talking about shishito peppers and how one of them was trying to grow them in his garden. He was eating them by the bowlful and thought it would be more economical to grow his own. I had been intrigued about these peppers in the past, but never really got around to trying them until today. I bought some at my coop this morning and then noticed them in Trader Joe’s too! These Japanese peppers are high in vitamins A and C. They’re generally not spicy peppers, but about one out of every ten is spicy (mild), which is actually a pleasant surprise. Unlike jalapenos, they are thin-walled, so they cook very quickly on the stove and are best eaten while still warm. Eat the entire pepper, except the stem. They’re delicious, making it easy to polish off the entire bowl, like I did. They make for a quick appetizer or snack, and even a nice side dish for brunch!

Ingredients:
2 teaspoons sesame oil
6 ounces shishito peppers
sea salt
1/2 teaspoon toasted sesame oil
1/2 teaspoon soy sauce
1/2 teaspoon toasted sesame seeds

Procedure:
1. In a large dutch oven, over high heat, add sesame oil.
2. When hot, add shishito peppers and a pinch of salt. Toss to combine.
3. Saute for 4-5 minutes, stirring frequently, until the peppers are mostly blistered on all sides.
4. Toss with sesame oil and soy sauce until the peppers are evenly coated, and sprinkle with sesame seeds.
5. Serve warm. Enjoy!

Roasted Beech Mushrooms!

beech mushrooms

I have yet to find a type of mushroom that I don’t like! Mushrooms have traditionally been used as an antitumor, antifungal, and antiarthritic medicinal food. They are also full of umami, described as a savory, rich flavor and is the fifth taste, following sweet, salty, bitter, and sour. Mushrooms are a great source of B vitamins, phosphorus, magnesium, potassium, and selenium. They are the only plant that provides a natural source of vitamin D. These brown beech mushrooms, also called bunashimeji, originated in Japan and are now cultivated in the US. They are sold in clusters in the supermarket and can be found at Whole Foods and even from Fresh Direct. They take minimal effort to prepare and are absolutely delicious out of the oven! I love to put them on top of my salad to add that rich, umami flavor.

Ingredients
1 package brown beech mushrooms (bunashimeji), about 2.5 ounces
2-3 teaspoons olive oil
sea salt
pepper

Procedure
1. Preheat oven to 400 degrees F.
2. Trim bottom of mushrooms and separate them into single pieces.
3. Toss with olive oil, just enough to lightly coat them so that they will crisp up.
4. Season with sea salt and pepper.
5. Roast for about 15-20 minutes, until browned and crisp.

Red Lentil-Bulgur Lettuce Wraps with Roasted Red Pepper Sauce!

red lentil-bulgur

Lentils are a good low-fat source of protein as well as copper and magnesium, which are necessary for energy production and healthy bone tissue. Red lentils cook particularly fast compared to other lentils, since they are split. Since red lentils are not a complete protein on their own, the addition of bulgur to this recipe makes the combination a complete protein. The red pepper paste is done in no time in a food processor or powerful blender and truly delicious. The lemon juice, cilantro, and scallion really brighten up the lentils. The entire recipe is incredibly easy for a quick weeknight meal and would be perfect for a meatless Monday! 🙂

For the Quick Red Pepper Paste:
1 12-ounce jar roasted red peppers, drained
1 teaspoon smoked paprika
1/2 teaspoon red pepper flakes
2 tablespoons olive oil
For the lentil tabouli:
1 tablespoon olive oil
1 red onion, finely chopped
4 garlic cloves, minced
1/2 cup Quick Red Pepper Paste, separated
1 teaspoon ground cumin
1/2 teaspoon smoked paprika
1 cup red lentils
2 cups vegetable broth
1 teaspoon sea salt
1/2 cup bulgur wheat
2 pieces of scallion, thinly sliced
1 bunch cilantro, finely chopped
juice of 1 lemon
Freshly ground black pepper

Bibb lettuce or Boston lettuce (optional)

Instructions:
1. To make the Quick Red Pepper Paste: In a food processor, or blender, blend the red peppers with the smoked paprika, red pepper flakes, olive oil, and a pinch of salt until it forms a thin paste or sauce. Leftover paste may be refrigerated in a covered container for up to 1 week.
2. To make the lentil tabouli: In a 2-quart or larger saucepan, heat the olive oil and cook the red onion and garlic over medium heat for 5 minutes, or until soft and fragrant. Add 1/4 cup of the red pepper paste, the cumin, and paprika, and sauté for 30 seconds.
3. Stir in the red lentils and pour in 2 cups broth and 1 teaspoon salt. Bring to a boil, then simmer for 10 minutes or until the lentils have softened. Stir in the bulgur wheat. Remove from the heat and cover the pan. Let the lentils and bulgur rest for 20 minutes, or until the mixture is thick and soft.
4. Stir in an additional 1/4 cup red pepper paste, as well as the scallions, cilantro, lemon juice, and a generous quantity of black pepper. Taste and add more salt and pepper if desired. Set aside to cool.
5. When the lentil mixture has cooled, form it into walnut-sized balls. Place one or two lentil balls or a dollop of lentil mixture in the center of a lettuce leaf, drizzle with roasted red pepper sauce, and roll up the lettuce or pinch it closed like a taco to eat.
7. Eat immediately or refrigerate the lentil mixture for up to 3 days.