Aji Verde (Peruvian Green Chili Sauce)

aji verde

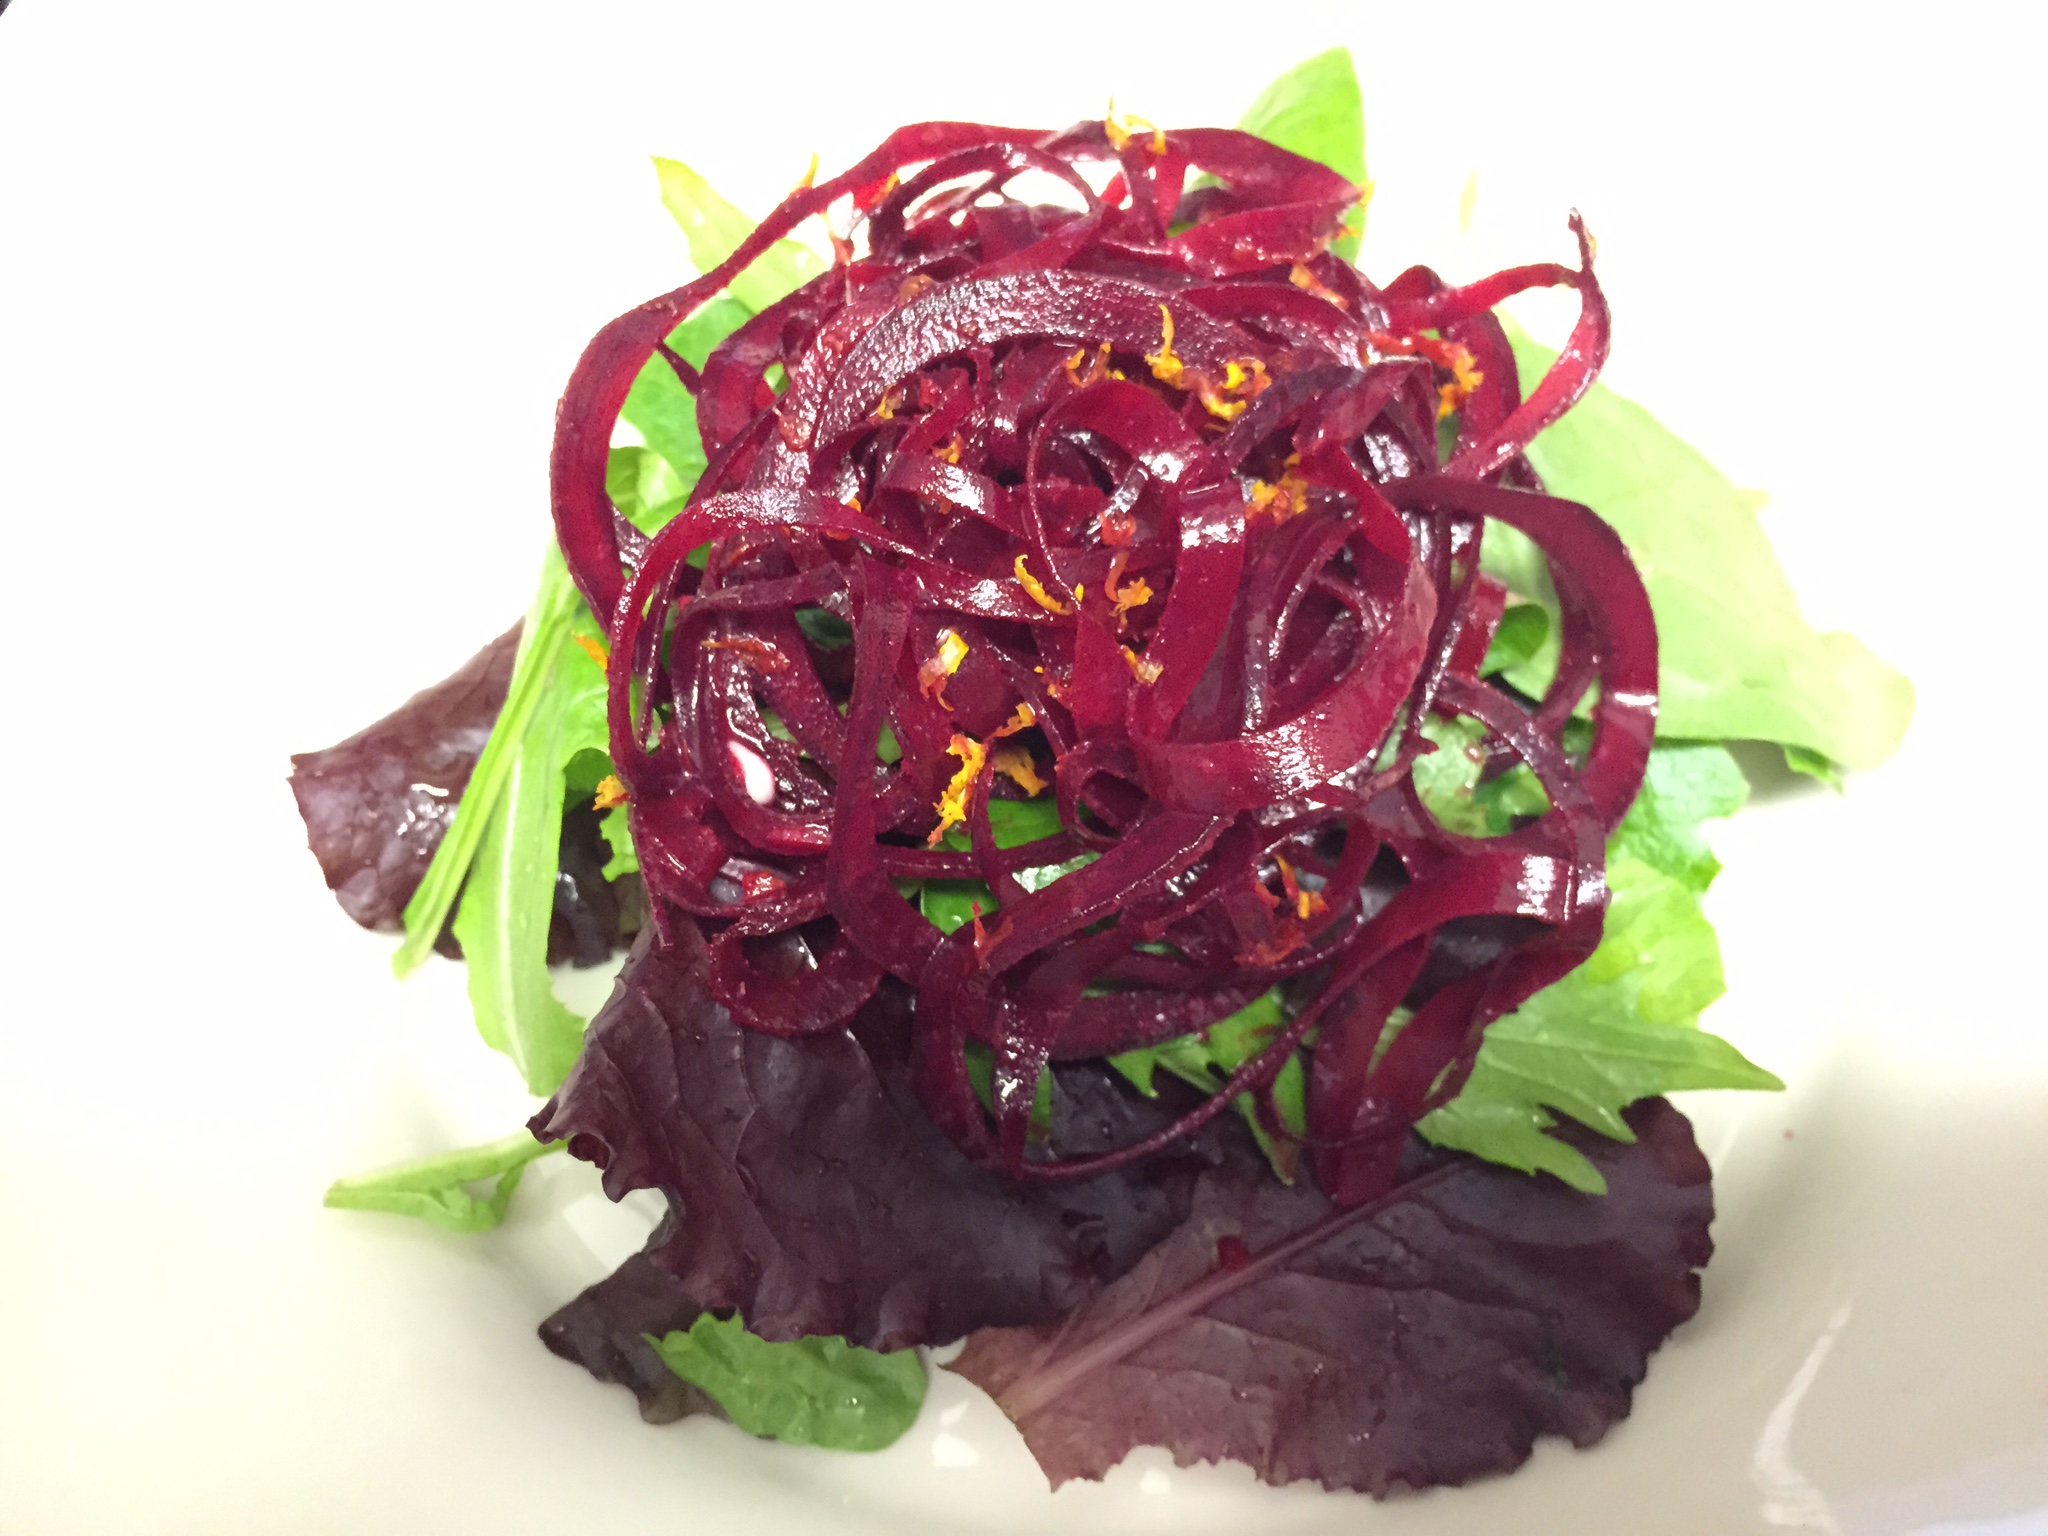
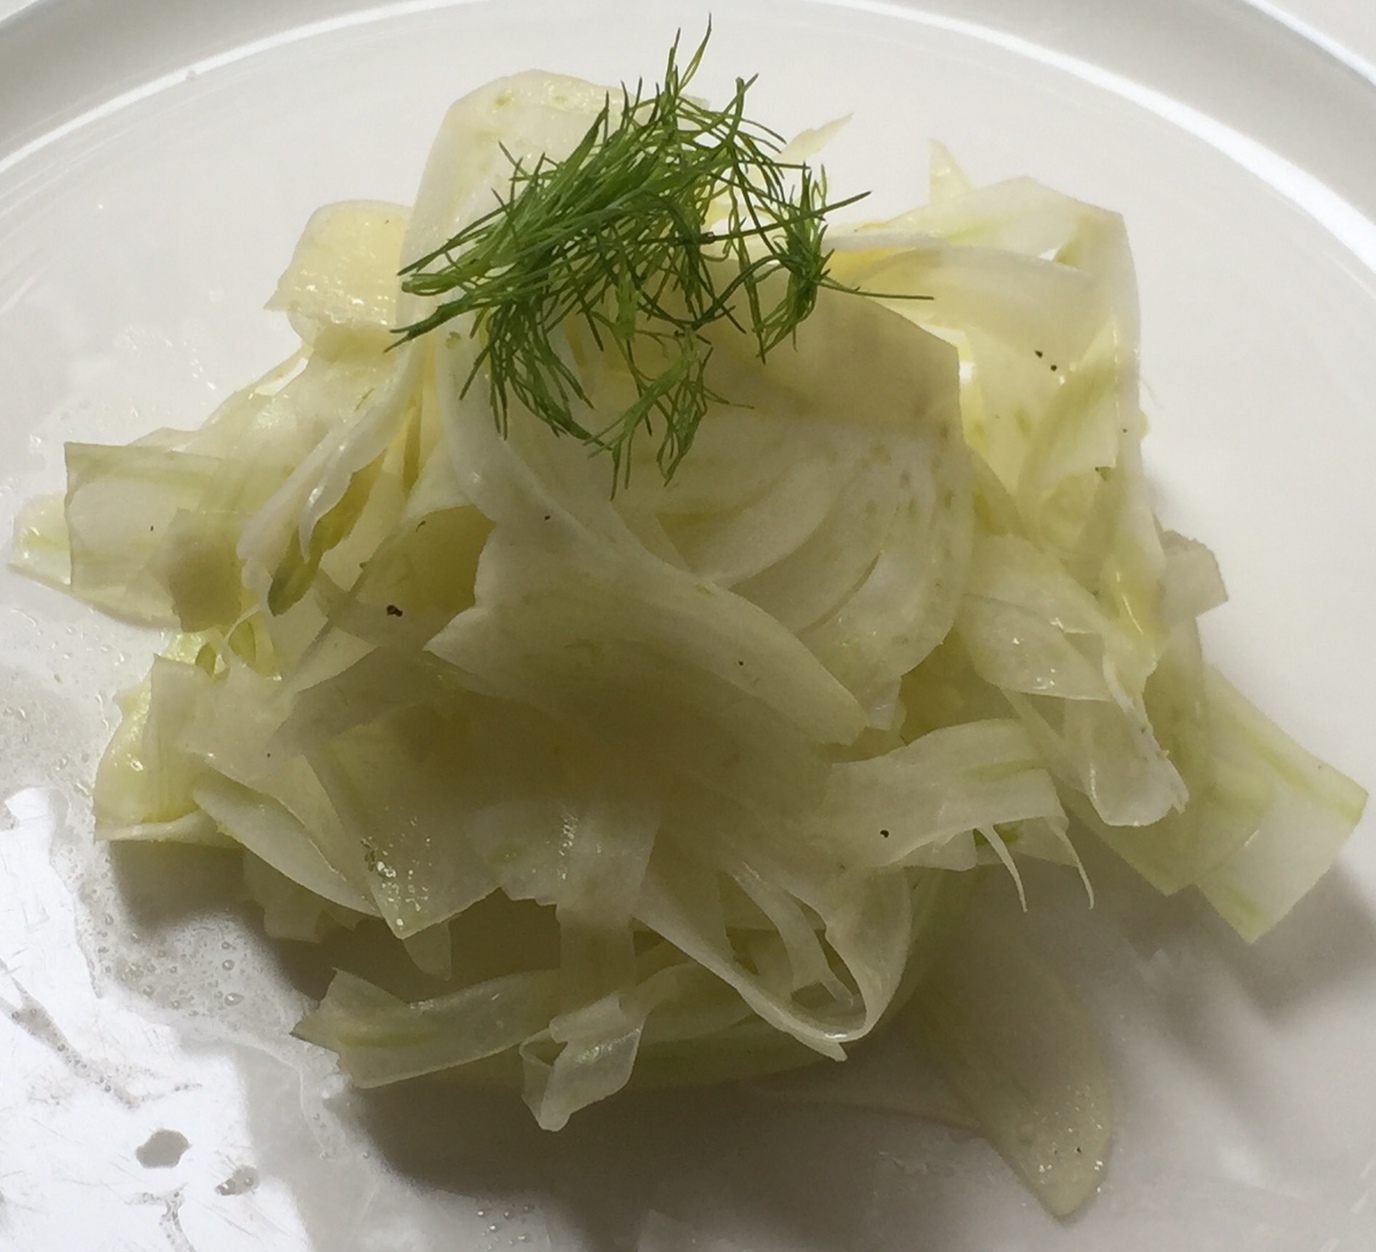
Recently, I went to Sophie’s Cuban Cuisine near me and had completely forgotten how much I love their green sauce. The first time I made it, I used the food processor and didn’t really like the consistency of the sauce even though it tasted great. The Vitamix worked out better and was less cleaning, so win-win. You can use this sauce on just about anything, including meat, seafood, veggies, etc. It’s actually a nice salad dressing too!

Ingredients:

1 bunch cilantro, including stems
4 jalapenos, most seeds removed and roughly chopped
2 garlic cloves, peeled
¼ cup avocado or olive oil
1-2 tablespoons mayonnaise (optional)
Squeeze of lemon juice
½ teaspoon sea salt

1. Puree all ingredients in blender. Mayonnaise adds creaminess. If the sauce appears too thick, add water to thin it out. Refrigerate to allow flavors to meld together. It keeps fresh for about a week. Enjoy!

Jicama Nori Rolls!

nori roll

Over the summer, my friend Lucy and I fell in love with this recipe that we learned through Matthew Kenney’s raw food program. Jicama is a starchy, root vegetable that is really crunchy, like water chestnuts and a good source of vitamin C. It’s refreshing and much lighter than rice in a normal handroll. This can be enjoyed as a sushi roll as well.

For Jicama Rice:
4 cups jicama, peeled, roughly chopped
1 teaspoon sea salt
2 teaspoons rice wine vinegar
2 teaspoons honey (non-vegan) or agave (vegan)

nori sheets
leafy greens
julienne carrot
julienne beet
sunflower sprouts

1. Put jicama in food processor and pulse until there are small pieces about
the size of rice. Using a nut milk bag or mesh strainer, strain out excess
water. Toss with remaining ingredients in a bowl.
Optional: Place sushi rice on non-stick sheets and dehydrate until slightly
sticky, about 2-3 hours.

2. Cut nori sheet in half. Place flat on dry cutting board with long side facing you, shiny side down.
3. Layer leafy greens in bottom left corner. This helps keep the moisture from the jicama from making the nori sheet soggy.
4. Then spoon about a tablespoon of the jicama rice on top of the greens, flattening it out.
5. Layer the julienned vegetables and sunflower sprouts on top..
6. From the bottom left corner, carefully fold at a 45 degree angle up to meet the top of the nori sheet, forming a point at the bottom of the roll. From here, just roll towards the right side and seal with water.
7. Enjoy immediately.

Sprouted Buckwheat Granola!

raw granola

Buckwheat is not related to wheat at all, which makes it gluten-free. It is actually a fruit seed and is believed to be easier to digest than grains. The purpose in soaking and sprouting the buckwheat is to neutralize enzyme inhibitors that prevent absorption of nutrients. If you don’t want to sprout and dehydrate buckwheat, you can always buy it already sprouted or even substitute in sprouted quinoa or millet. I really love this recipe because it uses date paste, a whole food, rather than a highly processed sweetener like white sugar or agave nectar. You can feel good about sharing this granola with loved ones.

Sprouted Buckwheat Granola

1 ½ cups sprouted, dehydrated buckwheat*
1 pear, diced and roughly chopped
¼ cup pumpkin seeds
¼ cup sunflower seeds
½ cup raisins or other dried fruit, soaked for 30 minutes and roughly chopped
¾ cup date paste**
2 tablespoons lemon juice
1 teaspoon lemon zest
1 teaspoon vanilla extract
½ teaspoon cinnamon
pinch ground clove
pinch salt

1. Mix all ingredients by hand in a large bowl, until well combined.
2. Spread onto a dehydrator sheet in ½ inch thick layer, allowing some space between granola pieces.
3. Dehydrate at 115 degrees F for 18-24 hours or until dry.
4. Enjoy!
*Sprouting Buckwheat:
1. Rinse buckwheat several times until water becomes clear
2. Soak in slightly warm water for 20 minutes, to begin sprouting process
3. Transfer to mesh strainer and rinse well again
4. Place strainer over a bowl and cover with a kitchen towel
5. Leave on counter to sprout (1-2 days), rinsing every 8-12 hours.
6. When the buckwheat is sprouted, it should have a tail no longer than the buckwheat groat itself.
7. Rince and spread out the sprouted buckwheat on a mesh dehydrator screen, being careful not to overcrowd the groats.
8. Dehydrate at 115 degrees F until completely dry.

**Date Paste: Process 5-8 soft dates with ¼ – ½ cups of water until a paste is formed.

Sesame-Ginger Kelp Noodles!

kelp noodles_blog

Kelp noodles are made out of the seaweed kelp and are fat-free, gluten-free, and very low in carbs, which makes them perfect for people with different dietary requirements.They are rich in a number of nutrients, mainly calcium, iron, and vitamin K. However, they are naturally high in sodium, so be mindful if you need to watch your sodium intake. They are a healthy and delicious alternative to conventional pasta and noodles and actually remind me of vermicelli or glass noodles, common in asian cooking. The sesame-ginger sauce coats the noodles nicely and the addition of a rainbow of thinly sliced veggies makes it really appealing and yummy. They also hold up well in soup and do not require cooking. Hope you enjoy them as much as I do!

Sesame-Ginger Kelp Noodles

12 ounces kelp noodles
juice of half a lime
1/3 cup tahini
1 tablespoon rice vinegar
1 tablespoon ume plum vinegar
1 tablespoon finely grated fresh ginger or 1 teaspoon of ground ginger
1 tablespoon white miso
1 teaspoon tamari
1 teaspoon sesame oil
pinch red pepper flakes
¼ cup water
¼ cup shredded red cabbage
¼ cup thinly sliced green beans
1 carrot, julienned
2 tablespoons chopped cilantro
2 tablespoons thinly sliced scallion
2 tablespoons sesame seeds (preferably black)
1. Soak kelp noodles in a large bowl of warm water with lime juice for 30 minutes
2. Rinse noodles thoroughly, then drain and transfer to a dry bowl
3. In a small bowl, whisk together the tahini, rice vinegar, ume plum vinegar, ginger, miso, tamari, sesame oil, and red pepper flakes. Once blended, whisk in water until you reach your desired consistency.
4. Toss the kelp noodles in the sesame-ginger sauce (depending on how saucy you like your noodles, you may have some sauce left over). Toss in the cabbage, green beans, and carrots. Garnish with cilantro, scallion, and sesame seeds. Serve immediately.

Heavenly Chocolate Ice Cream!

chocolate ice cream

When I made this ice cream for the first time, I couldn’t wait for it to freeze because it already tasted incredible out of the Vitamix. Vegans and non-vegans will absolutely fall in love with this rich, chocolatey ice cream. The cashews and coconut meat give it an ultra creamy texture that you won’t want to stop eating. You can find fresh young thai coconuts in Whole Foods or if you don’t want to crack open your own coconut, frozen coconut meat (popular brand: Exotic Superfoods) can be found in health food stores. However, the bonus of opening a fresh coconut is the refreshing coconut water!

Raw coconut is full of medium-chain triglycerides, a type of dietary fat that has been shown to curb hunger more effectively than other forms of fat and could improve cholesterol levels. It is also full of minerals and could help boost immunity. This would a be great to treat to consider for Labor Day weekend, whether or not you want to share 🙂 (An ice cream maker is not absolutely necessary, but it will deliver creamier results. The churning prevents tiny ice crystals from forming. I made this without one and it’s still delicious!)

1 cup cashews, soaked overnight
½ cup young coconut meat
½ cup honey (non-vegan) or agave (vegan)
1 ¼ cups coconut water
¼ cup coconut oil
1 tablespoon vanilla extract
4 tablespoons cacao powder
¼ teaspoon sea salt

1. Blend all ingredients in blender until very smooth.
2. Pour into ice cream machine and freeze according to manufacturer instructions.

Zucchini-Avocado Tartare!

tartare_blog

This month is super busy for me since I’m doing an online culinary program that is more intense than expected! But I will try to blog when I have free time 🙂 This is a recipe that I just learned and really love for its simplicity. You can easily impress guests with it! Because it’s raw, you’ll be absorbing more of the nutritional goodness. Lemon juice and olive oil help to make the zucchini nice and tender. Also, this is done best with a ripe avocado that is not too soft. Enjoy!

1 small zucchini, small dice
½ tablespoon lemon juice
1 teaspoon olive oil
1/8 teaspoon agave
½ tablespoon chives, minced
½ teaspoon salt
½ avocado, small dice

1. Toss all ingredients until well combined, saving avocado for last so that it doesn’t get mushy.

2. Press into a ring mold (using a spoon) to serve. Garnish with
chive points, fresh ground pepper and a drizzle of olive oil.

SuperSeed Crackers!

seed crackers

A couple of weeks ago, I was working at the coop (required for membership) and needed a snack. One of the customers purchased a box of Mary’s Gone Crackers, which looked like a healthy option. I loved them and before I knew it, I had polished off the entire box! (not unusual :P). They reminded me of these raw seed crackers that I had tried in culinary school while helping out with a dinner for another class. Therefore, I decided to try making a similar version at home, instead of buying another box. This recipe is supereasy, healthy, and yummy; hence, a great snack option 🙂 Not only are these crackers packed with omega 3s and antioxidants, they are also gluten-free, raw, and low-carb!

Ingredients:
1/3 cup chia seeds
1/3 cup flax seeds
1/3 cup sunflower seeds
1 cup coconut water
1 teaspoon za’atar
¼ teaspoon garlic powder
¼ teaspoon sea salt

Instructions:
1. *If using oven, preheat to 300 degrees. Combine all seeds and blend for about 10 seconds in the Vitamix or other powerful blender. Do not make into fine powder; leave some texture.
2. Add remaining ingredients to blender.
3. Blend again to fully incorporate ingredients. The batter should not be as thick as cookie dough but not as thin as pancake batter. It should resemble fluff, just not as sticky.
4. Using a spatula, spread onto Tefflex-Lined Dehydrator Screens or silpats about 1/8th of an inch thick. The thinner you spread it, the crispier the cracker.
5. If using oven, bake for about 30 min on each side, watching it closely. If using dehydrator, set to 155 degrees for 8 hours on each side, until crisp. If this doesn’t end up being crispy enough, you may have to put it into the oven.
6. When done to desired crispness, break apart and store in airtight container.

Preserved Lemon Dressing!

preserved lemons

Preserved lemons are often used in moroccan dishes and I never thought that I would make my own. One of my friends who has really gotten into fermenting and pickling, shared the following easy recipe with me. It basically entails using lemons, lemon juice, water, and salt and allowing the lemons to ferment for close to a month. If you don’t want to wait that long, you can always purchase them in the supermarket. The fermentation process tempers the bitterness, so when included in a recipe, these lemons add an intense lemony flavor. The dressing is incredibly versatile. Today, I added a couple of tablespoons to cooked lentils. It can also be mixed into grains and wonderful with asparagus.

How To Make Preserved Lemons

This dressing is adapted from a Martha Stewart recipe:

1 preserved lemon
7 to 8 tablespoons avocado oil or extra virgin olive oil
1 teaspoon ground cumin
1 teaspoon ground coriander
¼ teaspoon freshly ground black pepper

1. Rinse whole lemon and cut in half. Remove seeds and flesh from half of the lemon and chop the skin very fine; set aside.
2. Remove seeds from remaining lemon half and add to food processor or blender with the rest of the ingredients.
3. Process/blend until well-combined. If dressing seems too thick, add water for a thinner consistency.
4. Stir in the finely chopped preserved rind.

Purple Asparagus Salad!

asparagus salad

Asparagus is a sign of spring to me, so when I saw purple asparagus at the coop, I had to have it! I love my purple veggies (carrots, cauliflower, broccoli, kale..). Asparagus is a rich source of folates, B vitamins, antioxidants, and vitamin K. This recipe is so easy and doesn’t require any cooking. The simplicity allows the star ingredient to really shine and the asparagus ribbons are beautiful.

2 tablespoons avocado oil or olive oil
2 tablespoons lemon juice
1 teaspoon dijon mustard
pinch of salt
1 bunch purple asparagus, trimmed

1. Whisk together the first 4 ingredients in a large bowl.
2. Cut off asparagus tips and halve lengthwise. Then use the peeler to shave the rest of the asparagus spear into thin strips.
3. Add asparagus to dressing and toss well, making sure each piece is lightly coated.

Spiralized Beets!

beets

I didn’t realize that you could eat beets raw until I took the Living Foods class in culinary school. They are a good source of B vitamins and manganese and the fact that you’re eating them raw instead of cooked allows you to absorb more nutrients. If you don’t own a spiralizer, you could just shred the beets with a grater or in the food processor. These are gorgeous over mixed greens with blood orange segments!

2 medium beets, peeled and spiralized
1 garlic clove, minced
2 tablespoons rice wine vinegar
2 teaspoons dijon mustard
1 tablespoon avocado oil or extra virgin olive oil
zest of small orange
salt to taste

1. In a large glass bowl, whisk together the garlic, vinegar, mustard, and oil.
2. Add the spiralized beets and massage the dressing into the beets to evenly distribute.
3. Add orange zest (save some to garnish) and mix well.

Chia Pudding!

chia pudding

When the book Born to Run was released in 2009, chia seeds burst onto the scene as a superfood. The book highlights the Tarahumara Indians in Mexico that are naturally superfit ultrarunners with a diet high in chia. Chia seeds are full of calcium, antioxidants, protein, fiber, and are the most concentrated sources of omega 3 fatty acids. Chia seeds are able to absorb up to 12 times their own weight! And when soaked in liquid, they turn into a gelatin. This is perfect for breakfast or a healthy snack and is quite filling. The sweetness comes from bananas, rather than sugar or any sweeteners, so you can really feel good about eating this and sharing with family.

Makes 2-3 servings

2-3 ripe bananas
1 cup almond milk or coconut water
¼ cup chia seeds
½ teaspoon vanilla extract
1/8 teaspoon cinnamon

1. Blend bananas in Vitamix or other powerful blender.
2. In a large bowl, whisk the pureed bananas with almond milk or coconut water until thoroughly combined.
3. Add the chia seeds while whisking in order to prevent clumps.
4. Add vanilla extract and cinnamon and mix well.
5. Cover bowl with plastic wrap and refrigerate for at least 8 hours to set.
6. Enjoy!

Quinoa with Carrot-Top Pesto!

pesto quinoa

In the interest of using whole vegetables, I’ve been exploring using the greens of different veggies, including carrots, radishes, and beets. Rather than wasting these nutrition-packed leaves, you could simply saute them with olive oil and garlic for a nice side dish. Carrot tops are a great source of vitamin C, potassium, and calcium. Today, I opted to make pesto with them and some beautiful basil from the coop. Pesto is incredibly versatile and can be added to just about anything  for a flavor boost like quinoa, pasta, rice, potatoes, eggs, pizza.

Ingredients:
1 bunch carrot tops, de-stemmed
1 ounce basil (clamshell), de-stemmed
1 clove black garlic or regular garlic
2 tablespoons pine nuts
¼ cup extra virgin olive oil
pinch sea salt

2 cups cooked quinoa

Procedure:
1. Combine carrot tops, basil, salt, garlic, pine nuts, and oil in food processor or blender.
2. Process and stop to scrape down the sides of the container.
3. Add more oil for a thinner consistency.
4. Mix 2 tablespoons of pesto into the cooked quinoa.

Shaved Fennel Salad

fennel salad

This salad is so beautifully simple, light, and delicious, a welcome break from all of the heavy winter squash salads. The few ingredients really highlight the fennel and make it great as an appetizer with mixed greens or as a side dish. The best way to thinly slice the fennel is on a mandoline.  Fennel is a good source of Vitamin C, potassium, and folate. It also has phytonutrients that have been shown to reduce inflammation and prevent cancer. We are also in peak fennel season right now  (fall through early spring). Serve this at your next dinner party!

Yield: about 2 servings

Ingredients:
1 fennel bulb, cored and thinly sliced (save fronds for garnish)
Parmigiano-Reggiano cheese
1 tablespoons extra-virgin olive oil
1/2 tablespoon fresh lemon juice
Kosher salt and freshly ground pepper

Procedure:
1. Place fennel in a medium bowl. Using a sharp vegetable peeler, shave the Parmesan in thin shards over the fennel.
2. Add the olive oil, lemon juice, and salt and pepper to taste. Toss the salad gently, then adjust the seasoning with more salt and pepper if necessary. Shave more Parmesan on top, sprinkle with the fennel fronds, and serve immediately.

Spicy Chermoula!

chermoula

While working at Dimes in NYC, I’ve been learning quite a bit. The menu draws inspiration from various types of cuisine. I had never heard of chermoula before, but have had to make it for the restaurant a few times and finally made my own version of it at home. It originates from Morocco and is traditionally used as an herb marinade for fish or seafood. Similar to a pesto or chimichurri, this can be used as a sauce on veggies, eggs, chicken, fish, or mixed into grains or pasta for an instant flavor upgrade 🙂

Spicy Chermoula

Yield: about 1 pint

Ingredients:

4 cloves of garlic

1 habanero pepper, seeded

1 red hot cherry pepper, seeded

1 bunch cilantro

1 bunch parsley

4-5 large curly kale leaves, de-stemmed

1/4 cup lemon juice

1/4 cup olive oil

2 teaspoons cumin seed, toasted and ground

1 teaspoon fennel seed, toasted and ground

1/2 teaspoon coriander seed, toasted and ground

1/2 teaspoon sea salt

Procedure:

1. Process everything in the food processor. The herbs and kale may have to be added in batches. For a smoother chermoula, use a Vitamix. 2. Adjust olive oil for smoother, looser consistency

My favorite green smoothie!

Happy New Year!! This is my go-to breakfast during the week. Not only is it quick to prepare and delicious, but it’s easy to transport to the office in a mason jar. It’s full of superfoods and a great way to start your day!

Bonus: No need for highly-processed protein powder! Pumpkin seeds are high in protein and this smoothie packs 17 grams of protein!

Superfood Smoothie

1 1/2 cups coconut water

1 ripe banana

1/4 cup pumpkin seeds (pepitas)

1 tablespoon chia seeds or flax seeds

1/2-1 teaspoon cinnamon

2 cups curly kale, de-stemmed (about 2-3 large leaves)

Blend all ingredients in Vitamix or other powerful blender. Enjoy!